


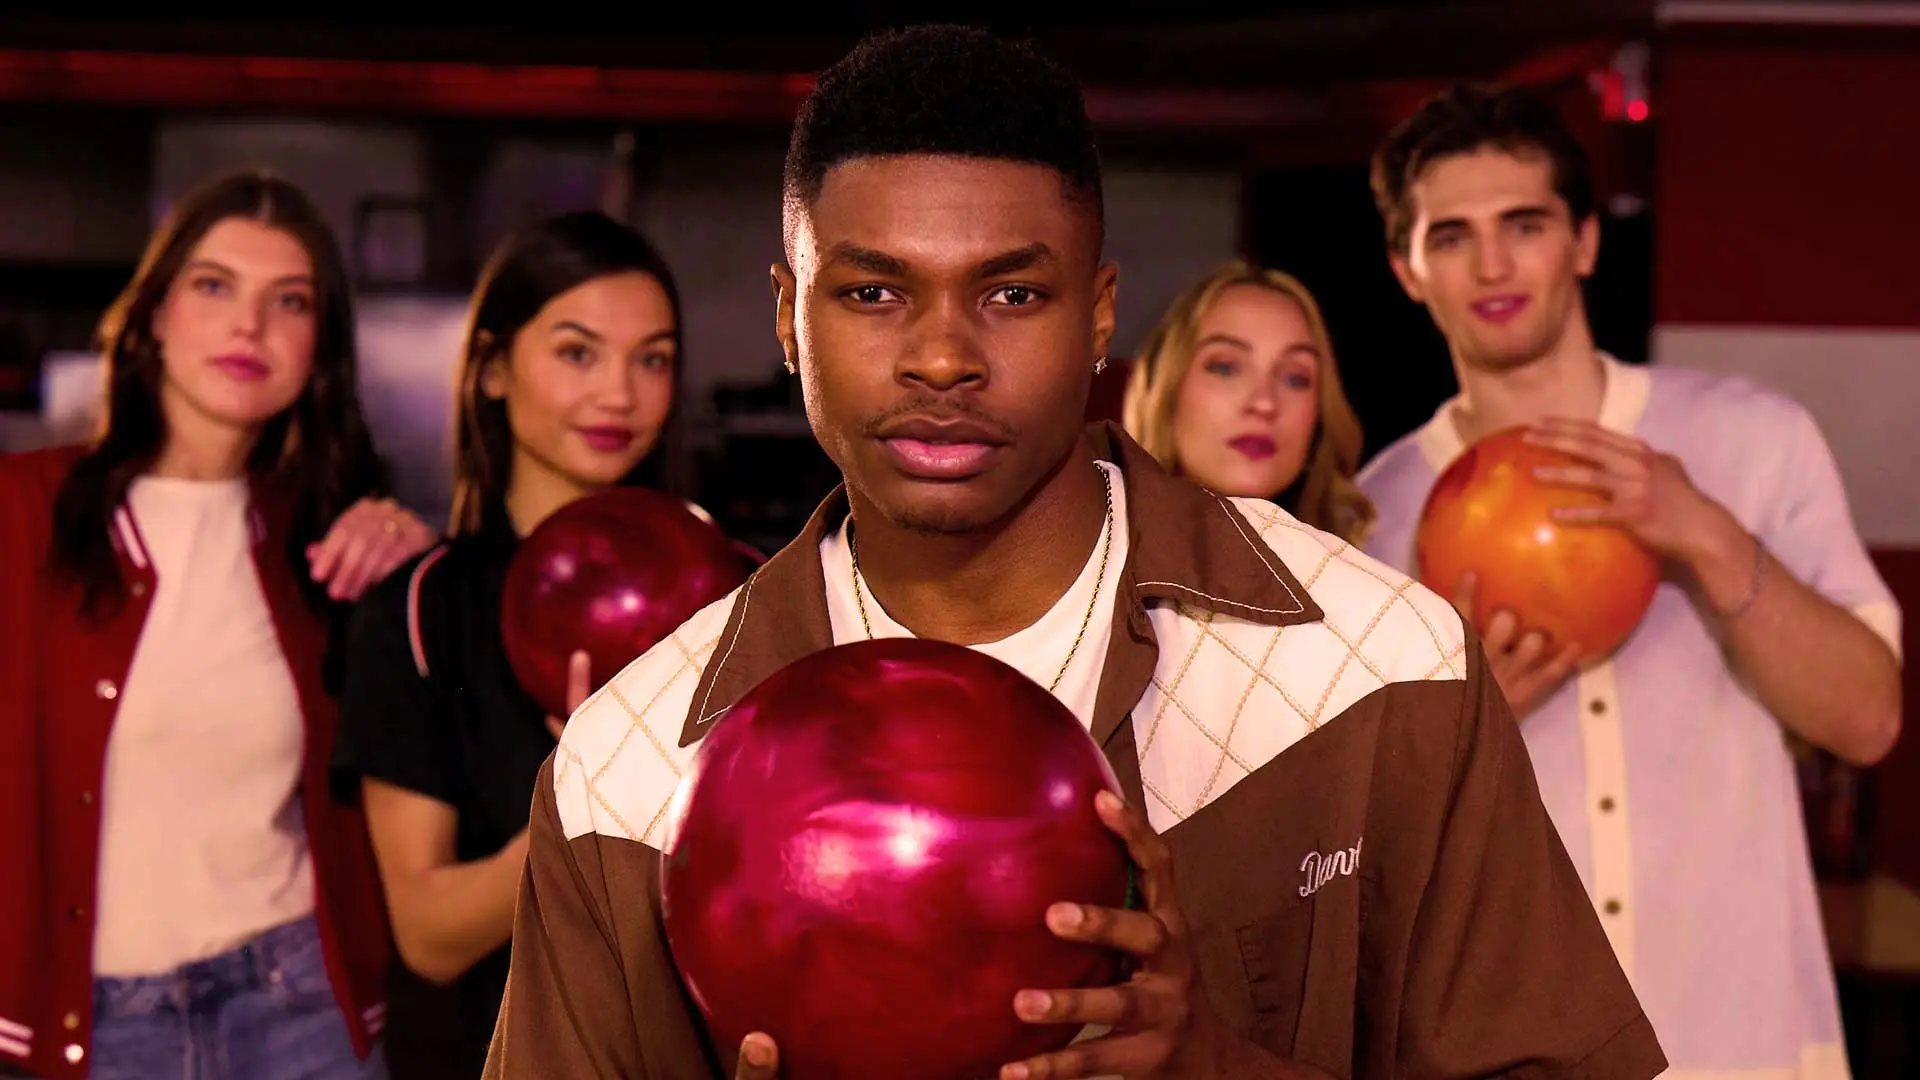
The first time you see a ball curve into the pocket, you want to do it too. A hook looks like magic from the next lane over, and it is a lot less mysterious than it seems.
How to throw a hook in bowling comes down to four steps, plus the mistakes that trip up most newcomers. This guide is written for casual bowlers using house balls, so the goals are realistic: a gentle, repeatable curve, not a pro-level spin. Take it one step at a time, and give yourself a few games to get the feel.
How to throw a hook in bowling starts with a relaxed grip
A hook starts in your hand. Slide your thumb in first, then your middle and ring fingers, with the ball resting in your palm. Keep your grip relaxed. A death grip kills your swing and your release, so hold the ball like you are holding a bird: firm enough that it will not fly away, soft enough that it will not get hurt.
Next, pick a target. Do not aim at the pins. Look at the arrows on the lane, which are a few feet past the foul line, and pick one. Aiming at an arrow is easier than aiming at a pin that is 60 feet away, and it gives you a spot to repeat every time.
For a right-hand hook, start a little to the right of center and let the ball curve back toward the pocket. Left-handed bowlers do the mirror image.
Step two: take your approach and swing smoothly
A hook comes from a smooth swing, not a hard throw. Start with the ball at chest height, take your steps at a comfortable pace, and let the ball swing down and back like a pendulum. Keep your arm straight and let gravity do the work.
Footwork helps. A four- or five-step approach works well for most people, and a small stagger on the first step can open your hips for a smoother swing. Right-handed bowlers lead with the left foot. Our guide to the stagger step walks through the footwork in detail.
Slow down. Most beginners rush the approach, and a rushed approach leads to a rushed release. Count your steps in your head, and keep the swing steady from start to finish. If you are not sure about the basics, the bowling tips and techniques guide covers stance, aim, and etiquette.
Step three: release with your thumb out first
The release is where the hook happens. As the ball swings forward past your ankle, let your thumb slip out first, and keep your fingers in the ball for a split second longer. The fingers give the ball a little lift and a little rotation as it leaves your hand.
Think of it as shaking hands with the ball. Keep your wrist firm and relaxed, with your palm facing the target, and let your fingers lift up the side of the ball as you finish. You do not need to twist hard or crank your wrist. A small turn is plenty for a house ball.
Do not force it. The rotation comes from the thumb leaving first and the fingers lifting, not from a wild wrist snap. If you try to muscle the ball, it will go sideways and your arm will tell you about it.
Step four: follow through and watch the ball
A good follow-through finishes the job. After the release, keep your arm swinging forward and up toward your target, with your hand ending near shoulder height. Hold the pose for a second, and watch the ball roll.
Watching the ball tells you a lot. If it curves too early, move your starting spot a little. If it does not curve at all, check your release. Make small changes, one at a time, and give each one a couple of throws before you change again. Ask a friend to watch your release and tell you what they see, since it is hard to feel what your hand is doing in the moment.
Expect a gentle curve at first. House balls are built for control and not for big hooks, so a slight bend into the pocket is a win. Keep practicing, and the feel will come with every game. Do not worry if your first few hooks look more like a lazy bend, because even a small curve gives you a better angle into the pocket and more room for error.
How to throw a hook in bowling: common mistakes to fix
Squeezing the ball. A tight grip stiffens your swing. Loosen up and let the ball hang.
Twisting the wrist too hard. Cranking the wrist leads to wild shots and sore arms. Keep the wrist firm and let the fingers do the work.
Aiming at the pins. Pick an arrow on the lane and aim for that instead.
Rushing the approach. Slow down your steps, and let the ball swing on its own.
Using a ball that is too heavy. A heavy ball forces you to muscle the throw. Drop down a weight and the release gets easier.
Dropping the ball early. Hold on until the ball swings past your ankle, then release. Think smooth, not strong, and the rest follows.
Practice how to throw a hook in bowling at Lucky Strike
The best way to learn how to throw a hook in bowling is to throw a few. Grab a lane, bring a friend, and take turns trying the four steps. Treat the first game as practice and the second as the real thing, and see how your release feels. Take a few notes on what worked, like where you stood and which arrow you aimed at, so you can repeat it next turn. Bring a friend who loves a challenge, order something to share, and turn it into a friendly contest to see who gets the first real curve.
Use the Lucky Strike location finder to find your nearest center, then check the current specials before you pick a night. The lanes are sleek, the shoes are rented at the desk, and the first curve into the pocket is waiting for someone at your table.
Feel Lucky.